I tested Walter Writes AI humanizer to save your time and money.
In this post, I will show you my results, experience, and whether it’s worth it or not.
Let’s start!
Disclaimer: This post has affiliate links at no cost to you.
Core Features
Here’s a sneak peek at the core features.
- Converts AI text into natural, human-like writing
- Adjusts tone (casual, academic, professional, etc.)
- Passes AI detectors like Turnitin and GPTZero
- Fixes grammar, flow, and awkward phrasing
- Fast processing (under 30 seconds)
- Works in 50+ languages
- Built-in AI detection preview
- Handles long texts (paid plans)
- Batch processing available
Now, let’s move on to my experience and results with this AI humanizer.
My Experience
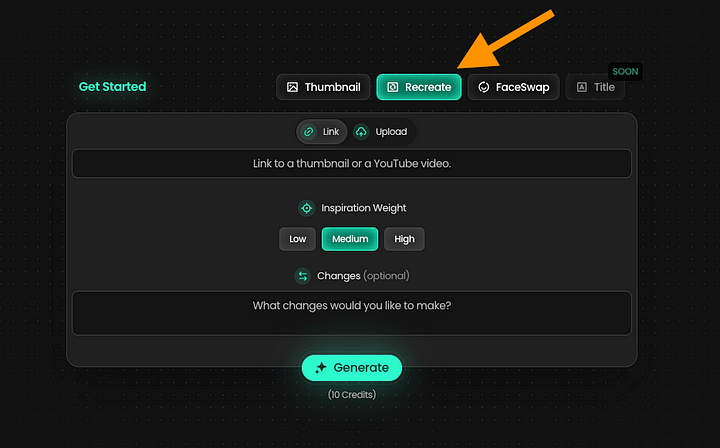
How to Use It
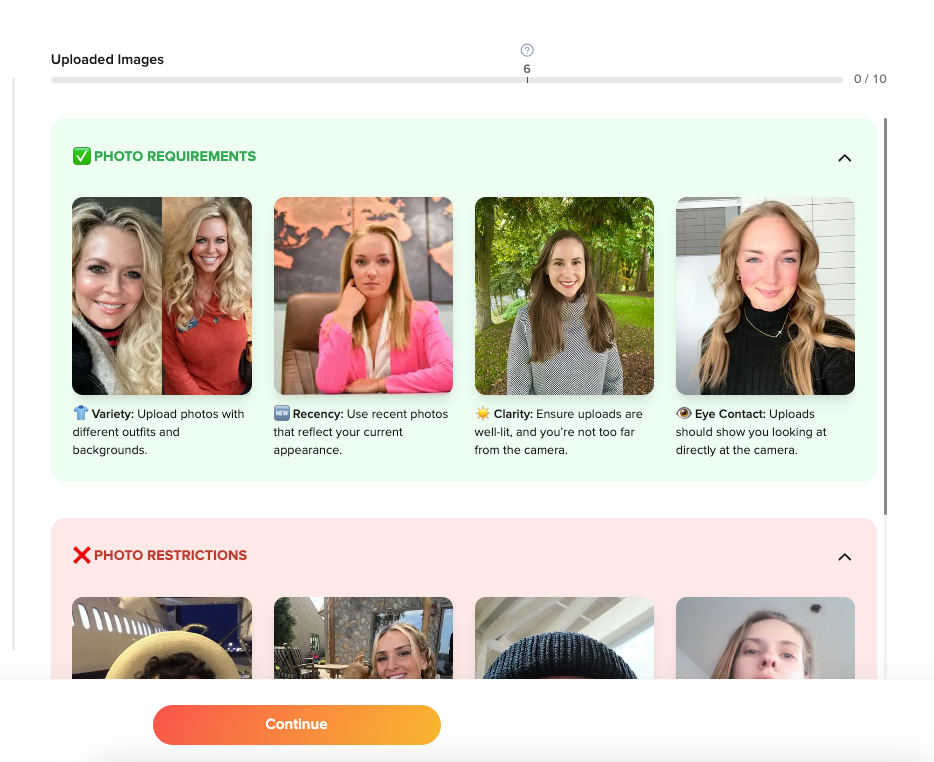
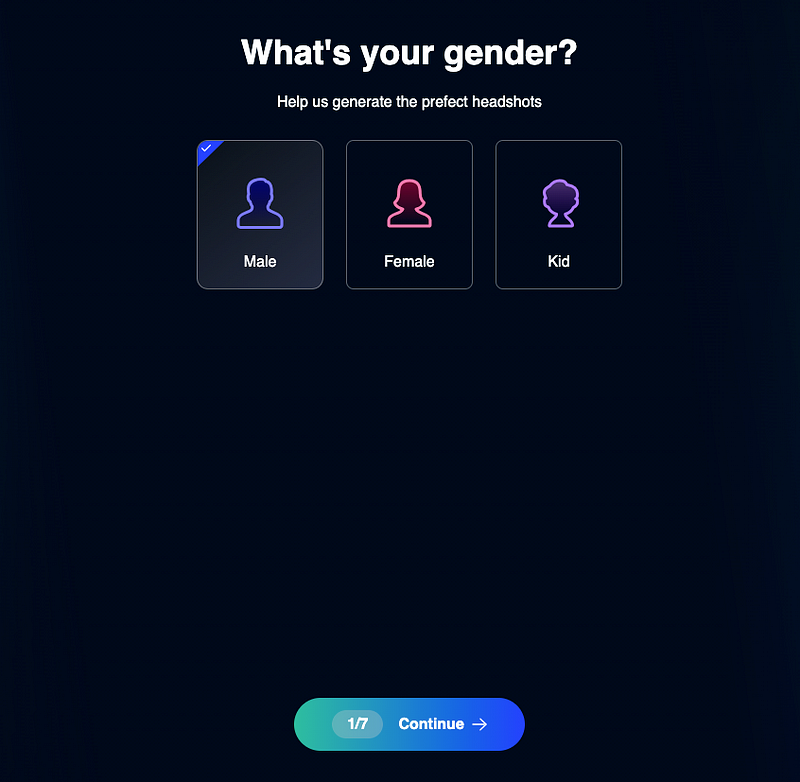
First, before I share the results, let me quickly show you what it’s like to use this tool and how to do it yourself.
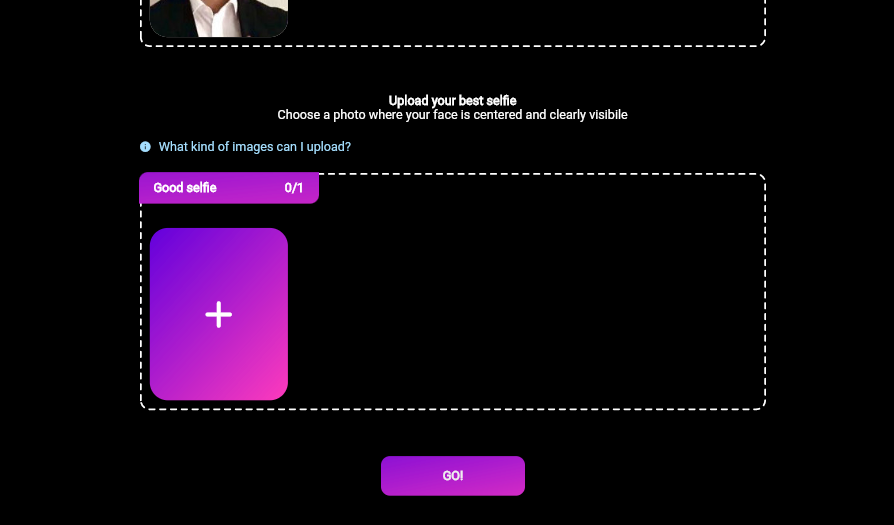
I found out that this tool is easy to use. Just sign up.

You’ll then see the AI humanizer dashboard. Then copy-paste some content into the view.

Tweak the humanization settings for a better-tailored output.
Then click “humanize” to start the process.
Depending on your text chapter length, it should only take less than a minute for you to see your humanized text.

That’s pretty simple, isn’t it? Anyone can learn how to use these tools in a second.
Based on this, here’s my take on Walter AI when it comes to the usage and speed.
| Feature / Criteria | Score (0–10) |
|---|---|
| Ease of Use | 8 |
| Speed of Processing | 9 |
| Output Quality | 6 |
| Maintains Original Meaning | 7 |
| Tone Naturalness | 7 |
| Customization Options | 8 |
| Pricing Transparency | 7 |
| Free Usage Availability | 4 |
| UI | 7 |
| Overall Score | 7 |
That’s decent!
However, thus far, everything could be just hype. The tool could look cool, they could have a big budget on ads, but the performance is still a question mark.
Let’s find that out next!
Results
I ran the humanized output through a few popular AI detectors to see how well it holds up.
- A score of 0% means the detector thinks the content is still fully AI-written.
- A score of 100% means it’s human-written.
Here’s what came back:
| Content Type | Winston AI | Originality AI | QuillBot Detector | Undetectable.ai Detector |
|---|---|---|---|---|
| Formal Essay | 7% | 100% | 100% | 49% |
| Casual Blog | 83% | 100% | 100% | 50% |
| Creative Writing | 0% | 100% | 100% | 36% |
| Technical Expl. | 1% | 100% | 100% | 99% |
| Total Average | 22.5% | 100% | 100% | 58.5% |
Based on this, the average AI detector score for Walter Writes AI was just 70.31%.
That means 7 out of 10 times Walter AI was able to humanize the text, but 3 times out of 10 the AI detectors could still tell it’s AI content.
That’s way too unreliable.
Other Observations
Is the Text Actually Good?
Walter Writes AI was able to fool the detectors most of the time. However, that doesn’t say much if the content is garbage.
Let me give my honest opinion of the tool’s output quality.
To give you an example, here’s a short section of a Walter AI humanized piece of text:
Neural networks are an important aspect of modern artificial intelligence. Neural networks resemble, in some loose way, how neurons act in the human brain. Neural networks are composed of interconnected nodes in many layers. Nodes accept inputs, apply an activation function, and send outputs to the next layer. If someone had to choose a particular network structure, feedforward neural network is the predominant form. Neural networks are used for classification, regression, and different forms of pattern recognition. Training a neural network utilizes the backpropagation process. An error is achieved based on the models prediction and the actual value. The backpropagation process will optimize the weights of the network using an optimization algorithm called gradient descent, to minimize the loss.
To me, this seems hard-to-read text that is designed to trick AI detectors. It still sounds like AI, but it just lacks the typical AI jargonized patterns.
It has those repetitive high-schooler writing patterns that are super hard and annoying to read.
I noticed this in almost all of the samples I tested it with.
Free Trial Limits
A good software has a free trial.
If the team is confident that the users will love the product, they’ll surely offer it for free—unless it’s like crazy expensive to run free and the results are guaranteed.
Walter Writes AI has a free trial with which you can play with.
However, it’s just 300 words. That’s a very limited free trial, but still a free trial nonetheless.
Pros
Here’s what I liked about Walter Writes AI.
- Easy to use
- Free trial
- Fast processing
- AI detector (although I had to use 3rd party ones to get reliable results)
Cons
Here’s what I didn’t like about it.
- Works just 70% of the time based on my 16 random tests. This is not good at all.
- The text is hard to read, the sentences are super long. It sounds like something that has been designed to trick the AI detector algorithms.
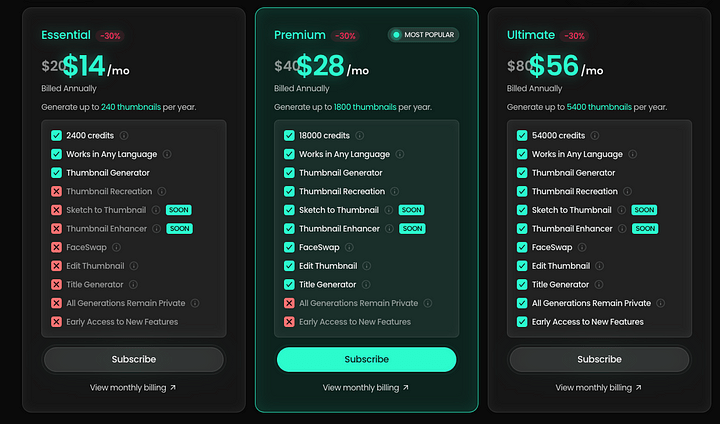
Pricing

Here’s a quick summary of the pricing of Walter Writes AI:
- Starter Plan: €6/month (Billed €75 annually) — 10,000 words/month
- Pro Plan: €10/month (Billed €118 annually) — 55,000 words/month
- Unlimited Plan: €25/month (Billed €302 annually) — Unlimited words/month
Walter Writes AI vs. ChatGPT
Instead of using Walter AI to humanize text, what if we used ChatGPT instead?
ChatGPT can just as well rewrite text, right? Especially if we use a clever prompt.
I tried this. Here’s the AI humanizer prompt I used in ChatGPT:
The Humanizer Prompt
Take the following content and rewrite it so it sounds like it was written by a human — not just any human, but one with natural quirks, opinions, emotional undertones, and stylistic imperfections.
Add:
- Mild personal anecdotes, observations, or casual asides where appropriate.
- Vary sentence lengths and structure — mix in fragments, rhetorical questions, even informal phrasing.
- Use colloquialisms, contractions, and slight inconsistencies in tone or pacing — like a real person would.
- Occasional humor, uncertainty, or opinion — avoid being perfectly neutral.
Avoid repetitive phrases, generic transitions, or robotic patterns.
The goal is to sound like a thoughtful, slightly flawed, expressive human — not a polished AI. Rewrite accordingly.
Here are the AI detection scores I got to my humanized text pieces:
| Content Type | Winston AI | Originality AI | QuillBot Detector | Undetectable.ai Detector |
|---|---|---|---|---|
| Formal Essay | 1% | 70% | 100% | 99% |
| Casual Blog | 19% | 100% | 100% | 48% |
| Creative Writing | 19% | 99% | 100% | 99% |
| Technical Expl. | 1% | 99% | 100% | 99% |
| Total Average | 10% | 92% | 100% | 86.25% |
If we sum up the AI detector scores, we get an average of 72.06%.
Let’s compare this score to Walter Writes AI, which gave an average AI detection score of 70.31%.
Walter Writes AI got an average score lower than ChatGPT.
This means ChatGPT is a better AI humanizer than Walter Writes AI.
Also, you can use ChatGPT for free much more than Walter AI.
Final Verdict
Walter Writes AI is not a reliable AI humanizer tool.
In fact, you get better human scores by just rewriting your text using ChatGPT.
Whether it’s ChatGPT or Walter Writes AI, I don’t recommend using either one for humanization. Those simply aren’t reliable enough.
My Test Data
To test the AI detectors, I generated four text samples with ChatGPT AI.
I then entered the text samples to the AI humanizers to get the humanized results.
Then I entered those into AI detectors again.
Here are the four text chapter I tested the humanizers with:
📄 1. Formal Essay (Topic: Climate Change Policy)
Climate change represents one of the most critical challenges facing humanity today. Rising global temperatures, melting ice caps, and extreme weather events are no longer distant threats but daily realities. Governments around the world must act swiftly and decisively to implement effective climate policies. These may include carbon pricing mechanisms such as taxes or cap-and-trade systems, increased investment in renewable energy sources, and stricter regulations on emissions from transportation and industry. Public awareness campaigns can also play a vital role in shifting societal behavior. Equally important is international cooperation, as climate change transcends national borders and requires a unified global response. Failure to act could result in irreversible damage to ecosystems, widespread food insecurity, displacement of populations, and escalating economic costs. Therefore, climate policy must strike a balance between environmental urgency, economic sustainability, and social equity to ensure a livable future for generations to come.
📝 2. Casual Blog Post (Topic: A Trip to Lisbon)
I didn’t expect to fall in love with Lisbon, but that’s exactly what happened. From the moment I stepped off the plane, the city greeted me with warmth, charm, and ridiculously good food. I spent most of my time wandering through the winding alleyways of Alfama, where laundry hangs from balconies and the sound of Fado music drifts out of open windows. One of my favorite moments was watching the sunset from Miradouro da Senhora do Monte — the sky turning gold over terracotta rooftops. Trams rattle along narrow streets like something out of a movie, and the people are as friendly as the weather is sunny. Of course, I couldn’t leave without trying a fresh pastel de nata (or three). Lisbon has this laid-back energy that makes you feel like you’re meant to slow down. It’s definitely a place I’ll return to someday.
🎨 3. Creative Writing (Scene: Rainy City)
Rain slid off rooftops and hissed against the pavement, turning the city into a blur of glistening reflections and scattered light. Mara moved through the quiet streets, her boots splashing through shallow puddles as headlights shimmered across wet asphalt. Somewhere above, jazz spilled softly from a second-floor window, a saxophone solo bending against the rhythm of the storm. The city felt alive in its stillness — holding secrets in every alley and whispers in the fog. Under the streetlight, her silhouette stretched behind her like a forgotten memory. She wasn’t sure where she was going, only that tonight wasn’t meant for staying still. With every step, the rain seemed to erase just a little more of the past, washing away the weight she hadn’t realized she was carrying. In the quiet of the storm, she finally felt something close to free.
🧠 4. Technical Explanation (Topic: How Neural Networks Work)
Neural networks are a foundational component of modern artificial intelligence, modeled loosely after the way neurons work in the human brain. At their core, they consist of layers of interconnected nodes, where each node receives input, processes it through an activation function, and passes the result to the next layer. The most common type is the feedforward neural network, which is used for tasks like classification, regression, and pattern recognition. Training involves a process called backpropagation, where the network adjusts its internal weights based on the error between its predictions and the actual outcomes. This adjustment uses an optimization algorithm known as gradient descent. Over many iterations and data samples, the network improves its performance by minimizing loss. Neural networks power a range of real-world applications — from facial recognition and voice assistants to recommendation engines and autonomous vehicles. Their ability to learn complex patterns makes them incredibly powerful, but also computationally intensive.
My Opinion in AI Humanizers
I’m testing AI humanizer for fun and to keep track of what I’m seeing—not as some kind of deep-dive research project.
The results are based on small samples, and things in the AI world change so fast that what works today might flop next week.
If you’re looking for more reliable data, you’d need to run way more tests, way more often.
Also, I don’t really buy into the whole “humanize your AI content” thing or the obsession with detection tools.
AI content isn’t automatically bad.
The real issue is when content—AI or human—just says the same stuff everyone’s already said.
For me, the only thing that matters is whether the person writing actually knows what they’re talking about.
If you’ve got no real experience or insight, you probably shouldn’t be writing it.
In fact, as a blogger, I’ve never seen any content creator see any results with “just another post” or “just another video” about a topic—whether it’s human or AI-written.
Don’t use AI to write. It just… doesn’t get you anywhere in life.